A poncho tarp might not seem like the coolest piece of hiking and camping gear, but it is more than useful when it comes to surviving in the wilderness or just taking some shelter from the rain or afternoon sun. As far as thru-hiking goes, poncho tarps are a viable rain gear and shelter option.
Gear that can serve multiple uses is always great when you need to bug out or pack light. If you have some basic knowledge of shelter building, you can forgo bringing a tent and significantly lighten your load on your next backpacking or camping trip.
You can use a poncho tarp to camo your belongings, keep your gear dry and capture water as well as build shelter. Read on to learn all about poncho tarps and how they can improve your next outdoor adventure.
What is a Poncho Tarp?
As its name suggests, a poncho tarp is a piece of hiking gear that doubles as both a shelter and a rain poncho. A poncho tarp can also make for a great pack cover.
Poncho tarps are designed to be minimalist. The whole idea of combining both your rain gear and shelter is to save weight and space in your backpack, of course. A poncho tarp is great for situations where rain gear or shelter is unlikely to be needed.
There’s always some chance of rain or the possibility of having to spend the night in the bush due to unforeseen circumstances.
A poncho tarp gives you the security of knowing you’ll have protection if something unexpected happens while freeing up a considerable amount of room in your pack.
What Sort of Backpackers are Suited to Using Poncho Tarps?
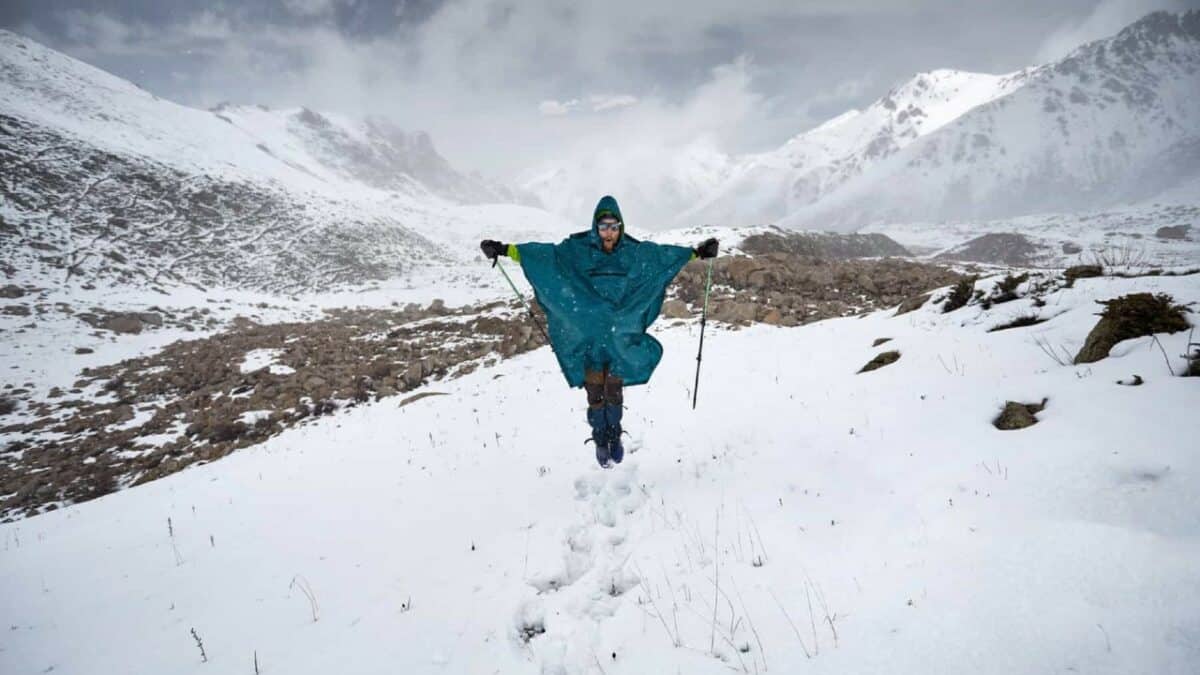
Ultralight hikers find the multi-functional nature and the gossamer-weight of poncho tarps to be very appealing. The average poncho tarp weighs only 8 oz (about 230 grams). Even if you decide to pair your poncho tarp with a bivy, your shelter and rain gear won’t weigh more than 14 oz (400 grams).
That said, everything looks good on a spreadsheet. Admittedly, not every backpacker will be thrilled with a poncho tarp. Poncho tarps are not the best solution in extremely harsh conditions. If you are thinking about getting a poncho tarp, here are a few boxes you should tick first:
- Prior experience with using smaller tarps. Poncho tarps are far from glamping, to say the least. While a poncho tarp can make for a decent shelter in rainy conditions, it offers very limited space. If you get caught in a lengthy storm, you should know how to pitch a poncho tarp tautly and in an appropriate spot. When using small poncho tarps in inclement conditions, there’s little room for error.
- Adaptability: Backpackers should be capable of doing big-distance days when the conditions call for it (for instance, above tree-line sections in unfavorable weather) due to the inherent limitations of poncho tarps.
- In-camp vs on-trail: Poncho tarps are not ideal for lazy days around the camp due to their spartan character. Poncho tarps are best suited for hikers and backpackers who would rather spend more time on the trail than lounge around.
- Comfort: If comfort is one of your main concerns when backpacking, you won’t like poncho tarps.
Suitable and Unsuitable Environments for a Poncho Tarp
On long-distance trails where 10 days straight of inclement weather is very unlikely, and there’s still little to nothing in the way of bushwhacking, a poncho trap is a great choice for an experienced tarper.
That said, taking a poncho tarp on a long journey where the weather is constantly wet and windy (e.g. South Island of NZ, Tasmania, or hiking in Scotland, etc.) is not the best idea. Though, it can be useful as part of your wild camping kit.
The same goes for trails where there are a lot of overgrown meadows and forests or a lot of rugged-cross country terrain. In places like these, your poncho tarp is more likely to snag on a bush or a branch than a lightweight backpacking rain jacket.
When it comes to exclusively above treeline hikes, it’s best to leave the poncho tarp at home. You may bring a larger rectangular (9’x7′) or (8.5’x8.5′) tarp in such exposed environments, but it may be best to go with a fully enclosed lightweight shelter.
Combining a Poncho Tarp With an Ultra Light Bivy
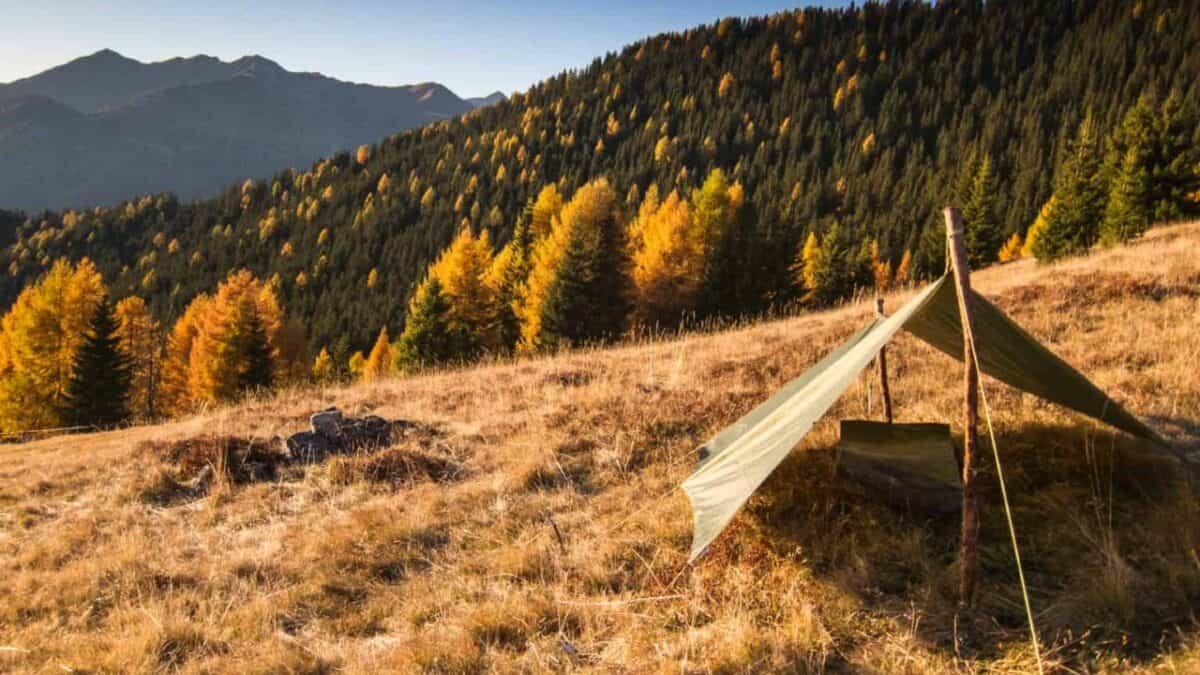
In many situations, bringing an ultralight bivy as well as a poncho tarp is a great idea. An ultralight bivy can provide an extra 5 to 7 degrees of warmth for a weight penalty of between 5 to 8 ounces. It also does a great job of minimizing drafts.
When it’s bucketing down, your bivy will protect your quilt from splash. If you are venturing out during bug season, it will offer you protection from mossies/midges/no-see-ums.
Some bivies have a waterproof bottom, so you can even leave your groundsheet at home. I’d definitely recommend bringing a bivy if your poncho tarp is smaller than 9’x7′.
Dealing With the Flapping When Backpacking in Windy and Wet Conditions
Poncho Tarps have one noticeable downside—they start flapping when the wind starts blowing. The easiest way to prevent this is to wrap a bungee cord around your waist and join it together with a mini cord lock.
You can eliminate most of the flapping issues with this simple and ultralight accessory. Some sort of a makeshift belt is a must if you want to give poncho tarps a try.
However, the “breezy” nature of ponchos can be good sometimes. When it comes to wet weather ventilation, poncho tarps are tough to beat. They are the next best thing to an umbrella/windshirt combo.
Making the Switch From Poncho to Tarp Mode When It’s Raining
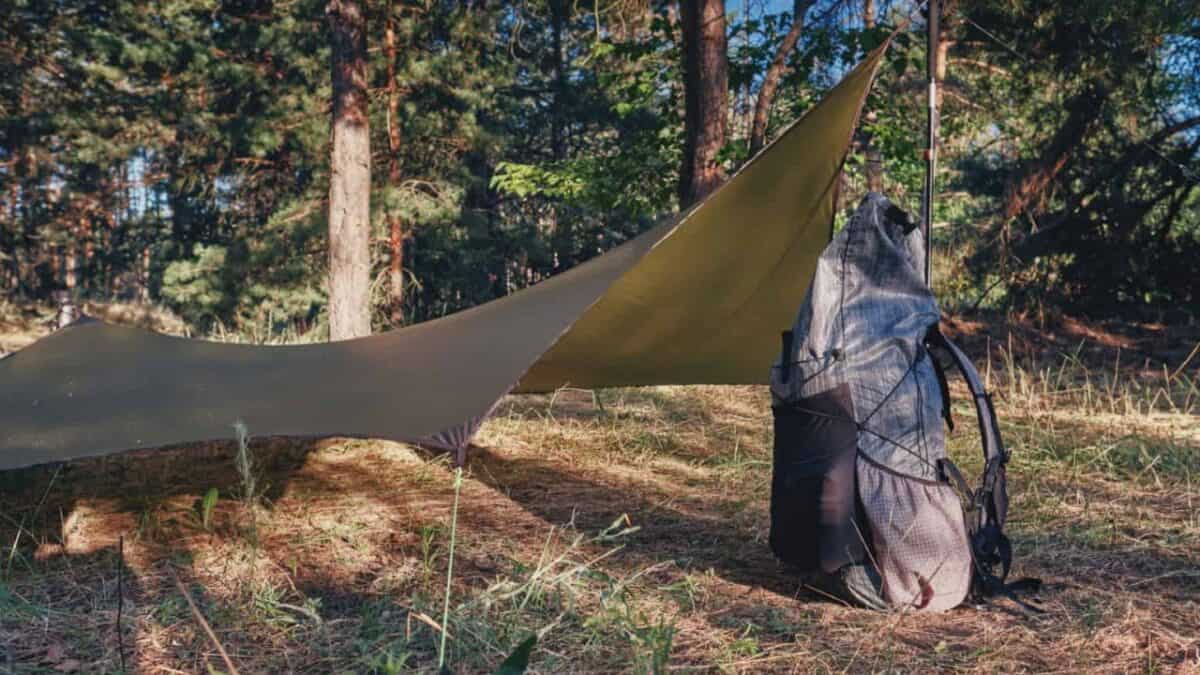
If you are thinking about giving poncho tarps a try, you’re probably wondering how you will set it up when it’s raining. It isn’t a big issue, provided that you are good at pitching your tarp quickly and have all the necessary components ready to go.
So, it’s a good idea to practice the transition a few times before you set out on your adventure. Here is a step-by-step breakdown of the process:
Site selection: When backpacking with a poncho tarp in unfavorable weather, picking the right campsite is more than half the battle. Smaller poncho tarps aren’t as forgiving as larger tarps or tents.
You’ll need to up your planning game, especially if you’re hiking through an above tree line or an exposed section. Identify sheltered campsite options before setting out.
Try to work out how long it will take you to get there. In case Mother Nature is preparing a surprise for you, devise a Plan B. If you’re using a poncho tarp, you don’t want to be above tree line when you get hit by a massive storm.
- When you arrive at the campsite, find a big tree, take your backpack off, and take out your stakes and guylines. When there is a chance of precipitation, both of these items should be easily accessible. It’s best to keep them in the back or side pocket of your pack.
- Take off your poncho. But before you use it as shelter, give it a good shake to get rid of as much excess water as possible.
- Put on your windshirt ASAP. Make sure to bring a windshirt with you. The average windshirt isn’t waterproof, but it is water-resistant.
- Connect the guylines to your poncho tarp. If you want to be able to quickly connect the guylines to your poncho tarp, it’s best to bring mini carabiners.
- Pitch your poncho tarp. Some backpackers claim that you can pitch a poncho tarp whilst still wearing it, but that’s not such a good idea. It’s doable, for sure, but it’s complicated, takes longer, and you’ll get drenched in rain more than you actually need to.
It will keep you dry and warm for a few minutes, just enough for you to set up your shelter. As with pegs and guylines, be sure to have it within reach.
When your hands are cold and wet, this is way easier than messing around with knots. If chances of rain are slim, you can leave the carabiners attached to your poncho tarp.
Pitch it the same way you’d pitch a regular tarp. Keep things simple. You can set it up in less than two minutes if you’re proficient in pitching tarps.
- Under cover: Before you crawl under the poncho, grab your backpack. Use a bandana or a handkerchief to wipe off any remaining water from the inside of the poncho.
- Breaking camp: You will want to pack up everything quickly if it is still raining the following morning. Apart from the actual poncho, grab all of your stuff and put it in your backpack.
Take down the tarp, disconnect the guylines/carabiners, stash them in an easily accessible bag, give your poncho a good shake, put it on, and away you go.
No matter how terrible the weather is, don’t get flustered. It’s easy to lose your pose while trying to set up a tarp in disastrous conditions. Focus on performing each step deliberately and efficiently. Breathe steadily, keep your cool, don’t rush, and you’ll get it right on the first try.
Types of Shelter You Can Build Using a Poncho Tarp

A-Frame Shelter
You can build an A-Frame shelter using leaves and branches. This is why it’s also called a debris shelter. Of course, you can use your poncho tarp instead.
Simply tie the cordage between a couple of threes and split the poncho down the middle. You can also use grommets to create a secure “spine” for your tarp.
You can create a more roomy and comfortable A-Frame by attaching two poncho tarps together. It is a great option in medium to heavy rain.
Half Pyramid
The Half Pyramid makes for a quick and easy setup. It is a great option in mild conditions. Stake down the corners of the tail end and raise the head end with a trekking pole or a branch.
Basically, the only significant difference between the Half Pyramid and the A-Frame is the higher front entry. If you want to create a bit more room inside, you can also tie out the side points. It’s best to point the opening in a sheltered direction, against a bush for instance.
Poncho Hammock Shelter
If you have a couple of high-quality poncho tarps, you can use one as a hammock and the other as a rain fly. To create this dry and cozy sleeping platform, you will need a paracord and some bungees.
Lean-To
A lean-to shelter is a great option during low wind conditions. It’s also great for being used next to a campfire. If you want even better protection from the wind, look for a poncho with built-in grommets.
You need a ridge line and two stakes to set up a lean-to. Hang a ridge line in between two trees. Then, attach the poncho to the ridge line and stake out the two corners. You can lower or raise the line to adjust the pitch.
If you are more interested in enjoying some shade rather than a campfire, rotate your poncho tarp 90°. If you don’t have a place to hang the ridge line, you can use a couple of trekking poles instead.
Size

If you are 6′ or taller, of medium build, a rain tarp that is 9’′x5.2′ or larger will provide decent protection. If your height is 5’6″ or less, a poncho tarp that is 8’x5′ should be big enough.
However, when you find yourself in truly dodgy conditions, extra coverage makes a world of difference.
Even though poncho tarps are loose-fitting by nature, you don’t want to get a model that’s too baggy. It can easily get caught on something or cause you to trip.
It’s a good idea to get a poncho tarp that features a catenary curve. Shaped poncho tarps that are cut with curved edges make for an easy and tight pitch in A-Frame. Configurations like the Half Pyramid shouldn’t be a problem either, since the curve isn’t so pronounced.
Hood Design
You’d want to get a poncho tarp that’s more than just a piece of tarp with a hole in the center. Get a poncho tarp with a good, adjustable hood. So that you will be able to easily adjust the hood’s volume, go for a model that has a cord lock/drawcord system.
Even though you’ll still need to wear a cap underneath the hood, try to find a model with a big, stiffened brim. It will help keep the rain out of your eyes.
When taut, the hood slit should seal shut. If it doesn’t (a common problem with low-quality twist-and-tie-off and round-hole ponchos), you can expect drippage issues.
Materials
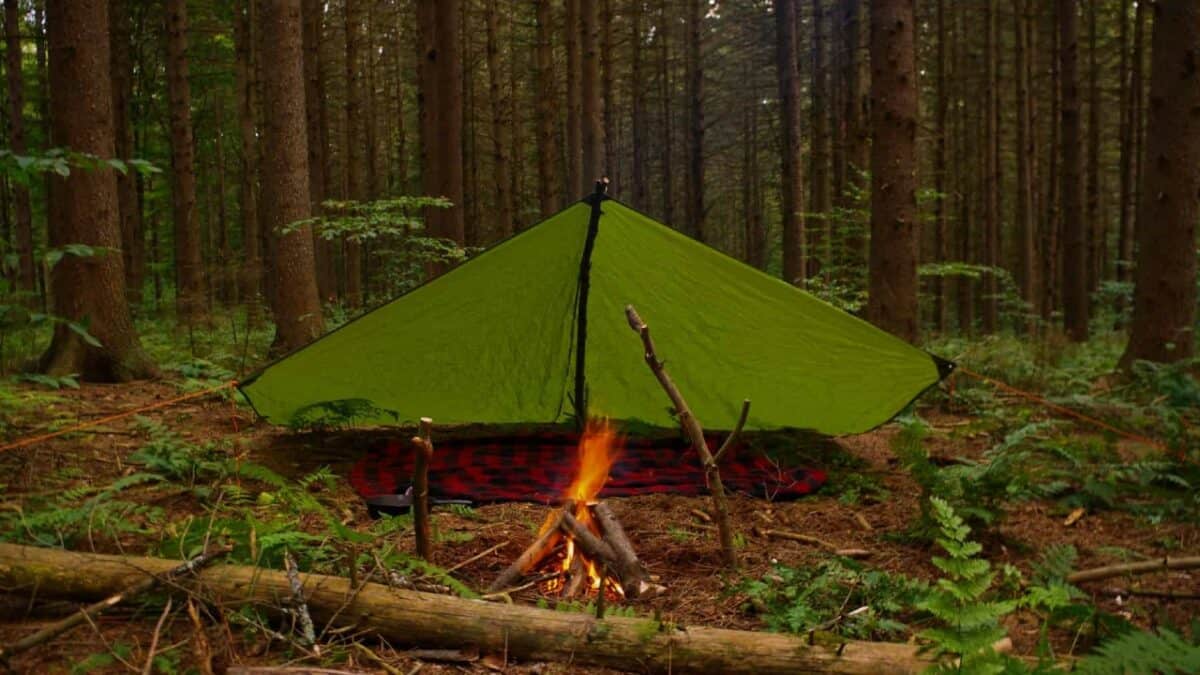
PVC
The cheapest poncho tarps are made solely from PVC. They usually don’t last long. But one of the best things about PVC ponchos is the fact that you can easily repair them using only duct tape.
However, it’s important to note that PVC doesn’t necessarily signal bad quality. Some poncho tarps use PVC as a layering material. Using PVC is one of the easiest ways to make something waterproof.
PVC ponchos are not so environmentally friendly, so it’s best to avoid buying PVC ponchos that are made for one-time use.
PU Coated Nylon
This is another super affordable waterproof material used to make poncho tarps. It features waterproof polyurethane on the inside and nylon on the outside.
This combo ensures water resistance and durability. The PU coating also makes the poncho more flexible. Poncho tarps made from PU coated nylon have one noticeable downside—they feel clammy in warmer conditions.
Cuben Fiber
A poncho tarp made from cuber fiber is your best bet if you want something lightweight. This material offers great water resistance and crazy tensile strength. Cuber fiber combines plastic mylar with other lightweight fabrics.
Poncho tarps made from cuben fiber are among the more expensive models on the market. Compared to other poncho tarp materials, cuben fiber is more comfortable to wear in warmer weather.
Cuben-fiber poncho tarps even offer some level of breathability. However, cuben fiber isn’t as abrasion-resistant as PVC or PU-coated nylon.
Sil-Poly
Sil-poly is both reliable and durable. The fabric is often used for waterproof poncho tarps as it is cheap to manufacture. Made from polyester and impregnated with silicone, sil-poly can outperform many higher-end fabrics. Sil-poly is reasonably easy to care for, difficult to stretch, heat-resistant, and durable.
Sil-Nylon
Durable and lightweight, sil-nylon is often used in outdoor gear. Poncho tarps made out of sil-nylon have a silky, yet slippery feel. Sil-nylon is similar to sil-poly, but less breathable.
Polyethylene
Poncho tarps made from polyethylene are a decent alternative to those made from PVC. Compared to PVC, polyethylene is much better for the environment.
Paratex Dry
Paratex Dry features a hydrophilic polyurethane coating that can resist a huge amount of rainfall. The fabric features a ripstop construction so it is highly reliable and durable. Paratex Dry is completely windproof, and, to some extent, breathable.
Summary
A good poncho tarp provides multi-functionality while lightening your load and freeing up space in your backpack. But, you need to learn how to use poncho tarps, and get well acquainted with their limitations, before you actually set out.
The transition from poncho to shelter mode becomes quicker and easier with repetition, so make sure to practice. Pair your poncho tarp with an ultralight bivy, and you’ll be ready to face adversity on your next big outdoor adventure.
In case you decide you want a proper tent instead of a poncho tarp, check out this Big Agnes Copper Spur HV UL2 Tent review.

I love hiking, backpacking, and camping. From the Camino de Santiago to the West Highland Way in Scotland or simply a great day hike on the weekend. Hiking refreshes me, my mind, and keeps my body reasonably fit. So far I have walked three Camino routes and many other long distance hikes in the UK, Canada, and around the rest of Europe. One of the best was my hike up Ben Nevis.
